Hi here I am again Chet Sary from Cambodia to share you new tips. It is 31st May 2010 already and there weither in my country is very hot. But I can still show a present box drawing using Pen Tool in Illustrator. See the result below
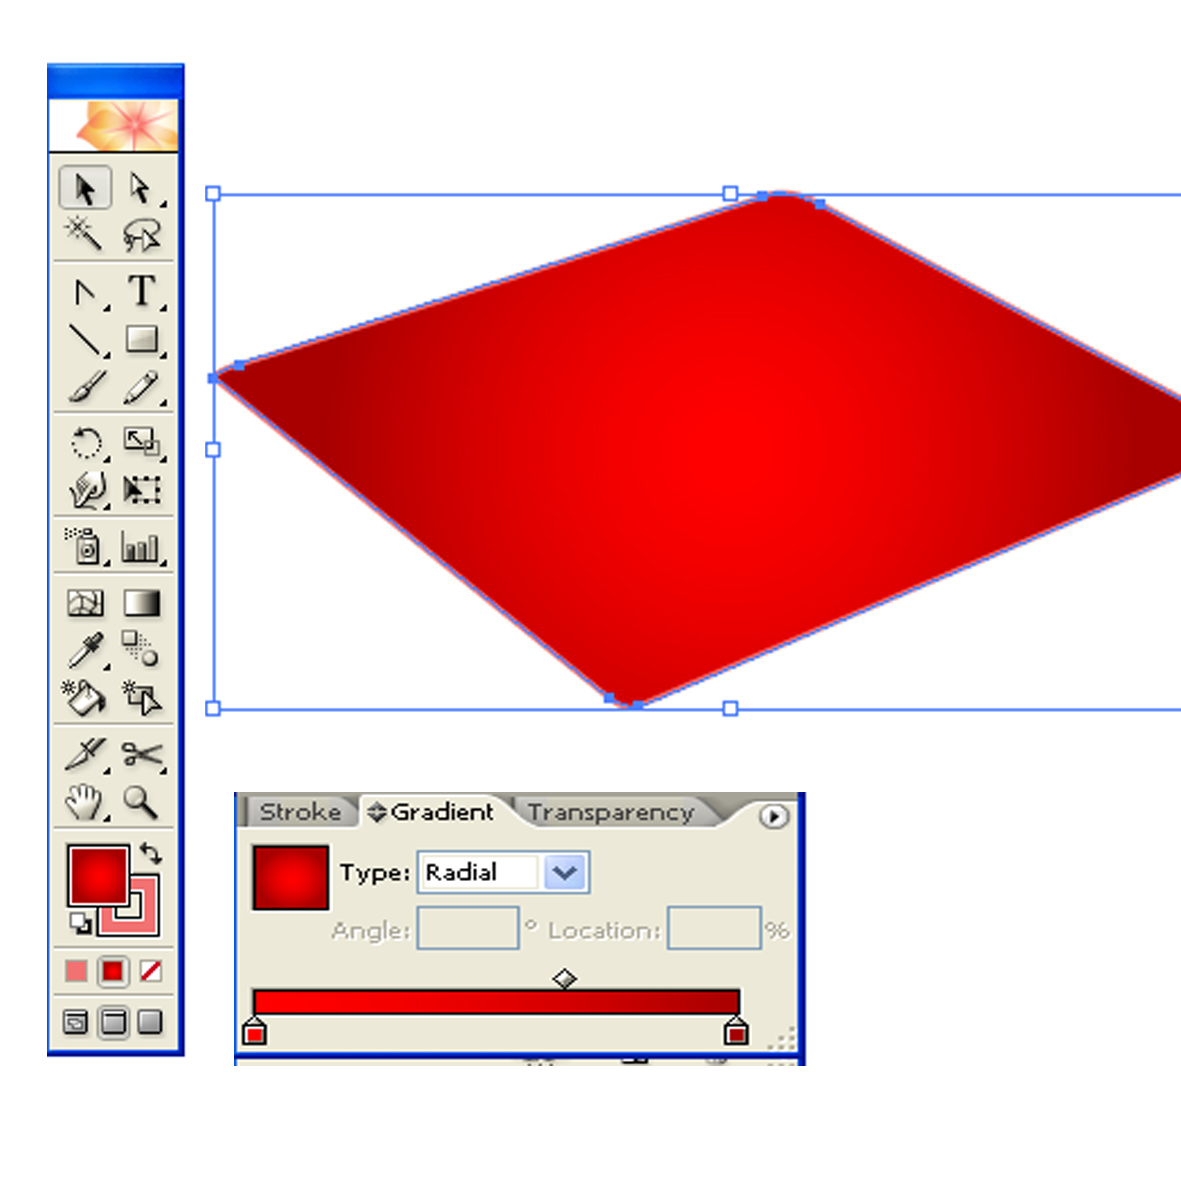
First you have to imagine how does it that you want it to be. But no need to care just follow my easy understanding to you. Start up with your new document. Size as what you wish. Then start your Pen Tool by now. Draw first path.
Give it Gradient in Radial style and stroke.
Drawing second path of box with the same Gradient but no stroke. It will see as the cover of the box.
And draw a body of the box. here it is
Add a shadow below the box. Now the present box is shown. It is not yet to be finished yet. But you can use it as you want. To make it nicer we have to add ribbon to decorate it as a present.
draw 3 face of the box left, right and front. Make some Gradient and make sure your ribbon is shown. You can add its shadow from now. For me I will add it later. I mean I will add it all in one time.
Ok first 3 faces drawn done. Now redraw another 2 face above the left and front ribbons. Start from left.
Then front face of the box.
Now as what I said we add shadow on it all. It will appear the ribbon straight away.
Once again please don't mind my English I know it is very poor. Ha haaaaaaaaaaa...............it is the way I am.
Now seems to be done but a few more steps. Draw a top curve ribbon on the left side.
Same here in front.
In the middle of the box draw a path which is connect to the curve ribbon or a whole ribbon. Imagine that.
Ribbon might can see inside when it is tied up. So try to draw that site.
this too. I think you could understand what I am drawing and explain to you about a tie ribbon. If you are not sure or miss understanding or any question for this step you can drop me a comment down there. Sure I will reply you with my soonest. I am taking care of you my friend. It a way of a Cambodian Guy is.
After you finish the tie drawing. it should look like this.
Ok it now a last step to finish this box. Make a white space on the ribbon. So your ribbon will look fashion and nice creative. Try it out and see.
Once you did the above one. Make it for the left and front face of the box for all ribbon drawing. And you have a good result like below.
Are you enjoy this tip? I hope so. Look what I am always step behind you. I also learn about it as well. If you have any questions please drop down to below comment to me. Thanks


nice site ,i like it !!!!
ReplyDeleteThanks Joe.
ReplyDeleteHey, thanks for the tips. A really good one indeed. My photoshop skills are not as good as you. Will back for more tips in the near future. Pls keep it coming!
ReplyDeleteThank you. Welcome back for your new tips are coming right away.
ReplyDeleteGreat site,, Thanks for sharing!
ReplyDeleteSome nice stuff you got here. I might need some of this guides later .
ReplyDeleteSure Shah welcome back soon.
ReplyDeleteHey thank for the tips. Great site! I will be come back soon.
ReplyDeletePeter_Familyman
Your mostly welcome. :D:X:-*8:}
ReplyDeletehi greAT SITE IM LEARNINMG ALOT ABPOUT DESIGN AND OTHER STUFF I DIDNT QUITE UNDERSTAND GOOD LUCK WITH YOUR SITE!!!!!!
ReplyDeleteOpen up you question then I will show your myth part
ReplyDelete