Wow it is now seems like some thing new for me. How about you? Hey once again after you read this post don't forget to share to your friends and comment to me is a well support.
To start this you have to follow 7 steps in a easy way. See it how it processes:
Step 1: use the Rectangle tool to draw a black layer of the dog tag
Once you drawn it then straight away give a black color. Here we got
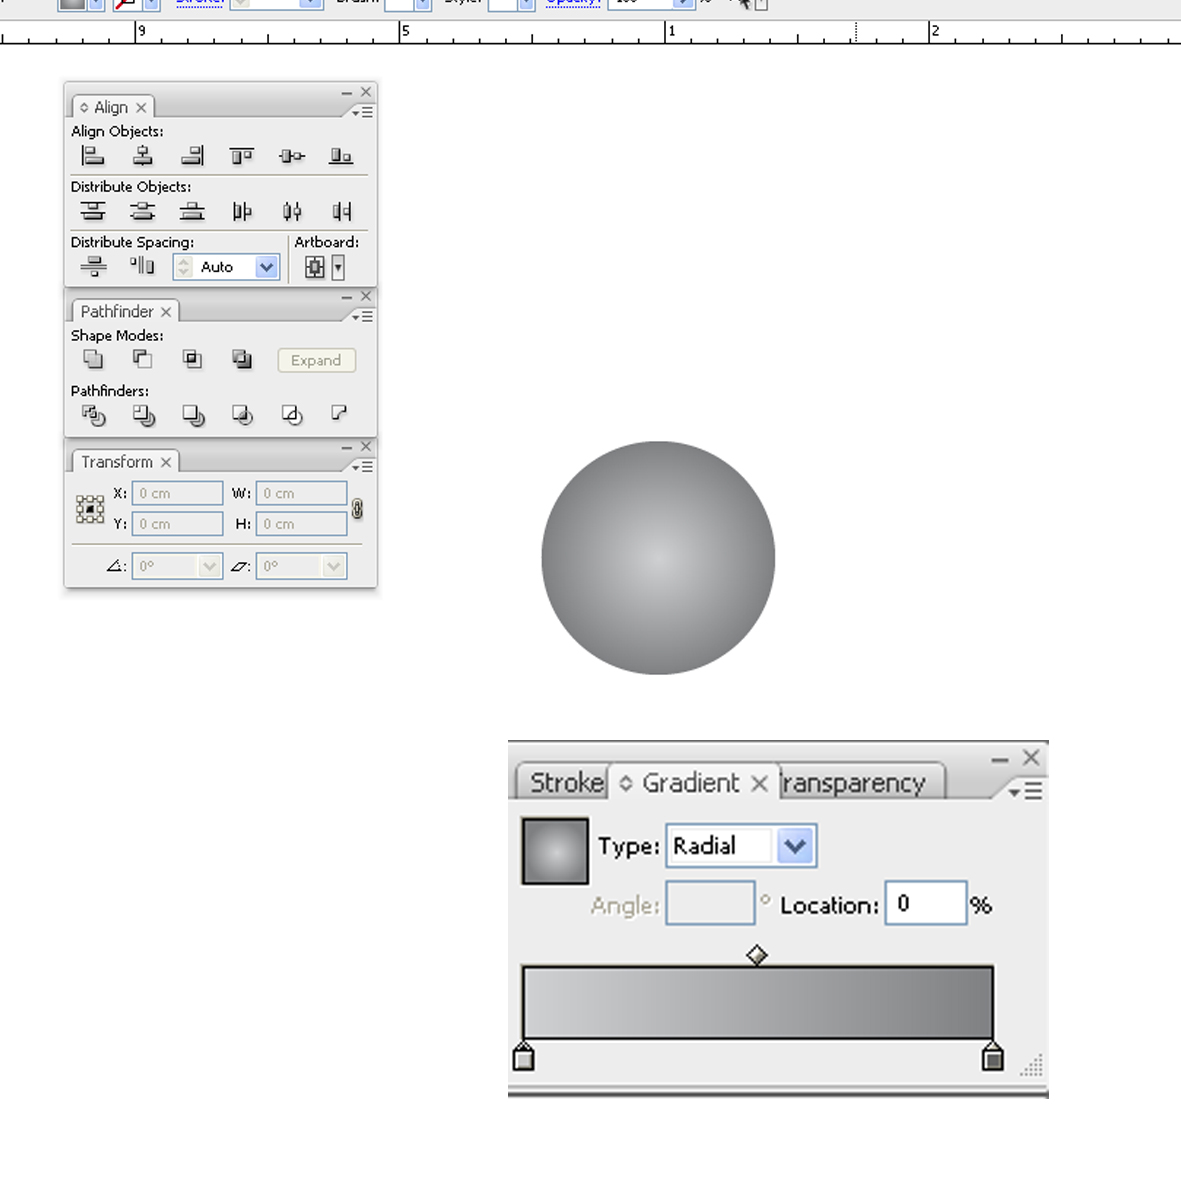
Step 2: Merge to make the cover. Use the same Rectangle tool and draw it 2 different layer. Then select both together and use your pathfinder dialog and press Excluded overlapping sharp areas and expend it.
So let's Gradient and give some drop shadow style. Done for step 2.
remember to put it one side. Step 1, Step 2 and more...
Step 3: Use your Pen tool (P) draw a layer as seen in image.
Copy your 1st layer and the same using pathfinder to work. Select this 2 again. Align it to be in the middle then press Subtract from sharp area to cut the joined together out then expand it.
Here we got after expand.
Press M draw a long line but not too big not too small
make a clipping mask. Before you do it make sure your black layer is on the top of the line layer. Then right click press Make Clipping Mask.
Result for clipping mask.
Step 4: do the same to step 3 but this time your line must smaller then.
Step 5: Press M draw it the same size of 1st step layer and gradient with image style.
Step 6: Copy this step 5 layer but give different Gradient style with below setting.
Now it is time to join all step together. See after 6 step
Cool one. It is almost finish. Ha aha this word I always say it at every post. He he.....
Step 7 : Press L to draw a cycle layer with with color and put it on the top of all layer.
In this step you have to make a star style in the middle of this tag. Apply it with some Gradient
Copy it make another small one with other Gradient reflection.
Ahhh the dog tag is appear but yet we have to add a string line. Now it is time for Pen tool to do it. Let's draw together.
Draw a cycle small one.
Make it into 2. Select is all then then Go to Object menu and scroll down to Blend and choose Blend option.
I do set it up as spacing: Specify steps 100 then ok.
Here it comes.
Alright just now you drawn a string right. Select the string and this blend mode. Go to Object menu again scroll down to Blend and choose Replace Spine. Then your string will replace with this cycle layer.
Haaaaaaaaaaaaaaaaaaa looks it is very nice comment now. Do copy your dog tag and move it a bit down.
Here the final result.
Opp a bit tired now. Let's see what you like to say to me. My idea if you can use Adobe Photshop please do a try and send to me. I will post that for you. Hey my email is chetsary@gmail.com. Thanks for visiting.


 S
S


It is another tips from me so have you say somethings yet over here. Do it right now
ReplyDeletemight try it in turbocad cewl
ReplyDeletegreat work, i like it a lot. even i usually used to make designs in adobe photoshop. but after this tutorial i will try illustrator for sure.
ReplyDeletethis is my website
http://www.meinterest.com
Yep Web-Designer you have come out a great comment for me. Many thanks to you.
ReplyDeleteBest drawing
ReplyDeleteThanks for sharing :X:X:X
ReplyDelete